With the Mule Maven plugin you have the possibility to configure Key/Value pairs. There’s no real documentation about how you can use this feature.
But these settings can be very handy for setting up CI/CD (Continous Integration / Continous Development).
When you have look at the MuleSoft site you can see the following settings:
<plugin>
  ...
    <configuration>
        <cloudHubDeployment>
            <uri>https://anypoint.mulesoft.com</uri>
            <muleVersion>${mule.version}</muleVersion>
            <username>${username}</username>
            <password>${password}</password>
            <applicationName>${cloudhub.application.name}</applicationName>
            <environment>${environment}</environment>
            <properties>
                <key>value</key>
            </properties>
        </cloudHubDeployment>
    </configuration>

</plugin>
So how can we use the Key/Value pairs.
Well for our example we are going to use the settings to send our client_id and client_secret to Cloudhub so the mule runtime can use the autodiscovery feature of MuleSoft.
The first step is to create a helloworld application in the Design Center. So let’s just keep it simple. Create a API specification.

Create a simple RAML spec.
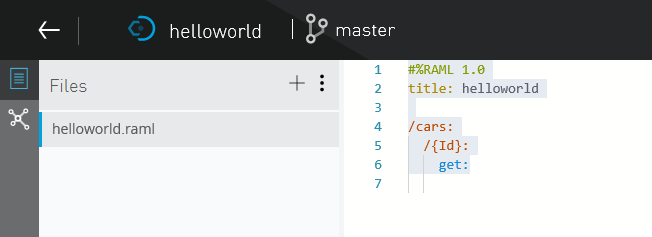
Publish the application to the Exchange:
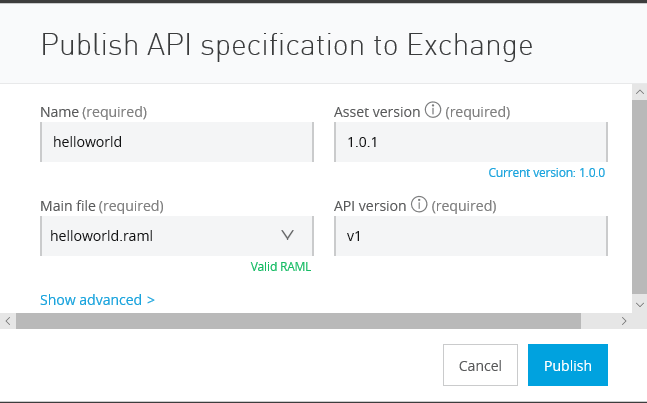
Now that the application is published in the Exchange we can add it to the API Manager. Just go your preferred business group and select Manage IP from Exchange.

Select the application we just created.
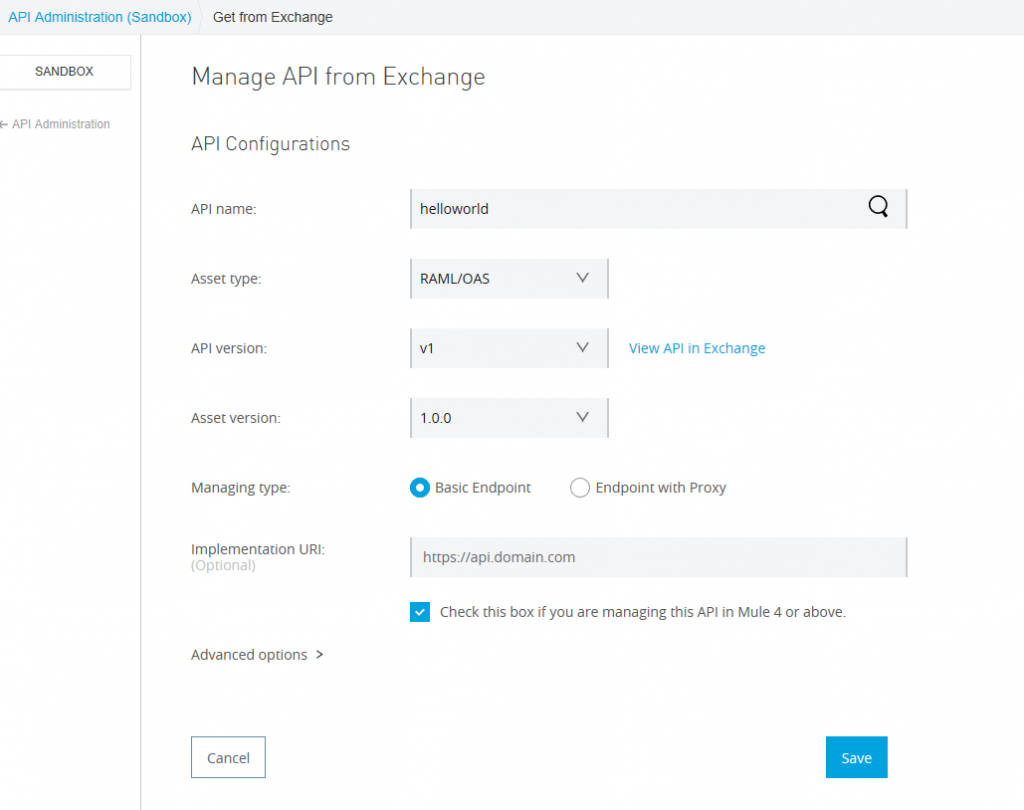
Now that our Application is created in under the Application Management we have a API ID that we later need to configure autodiscovery.
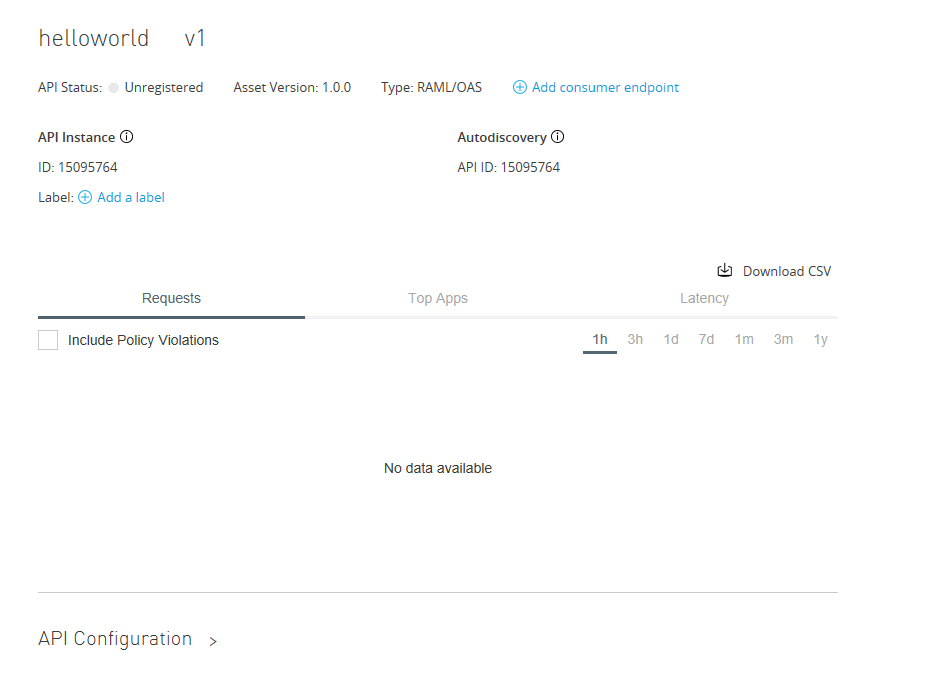
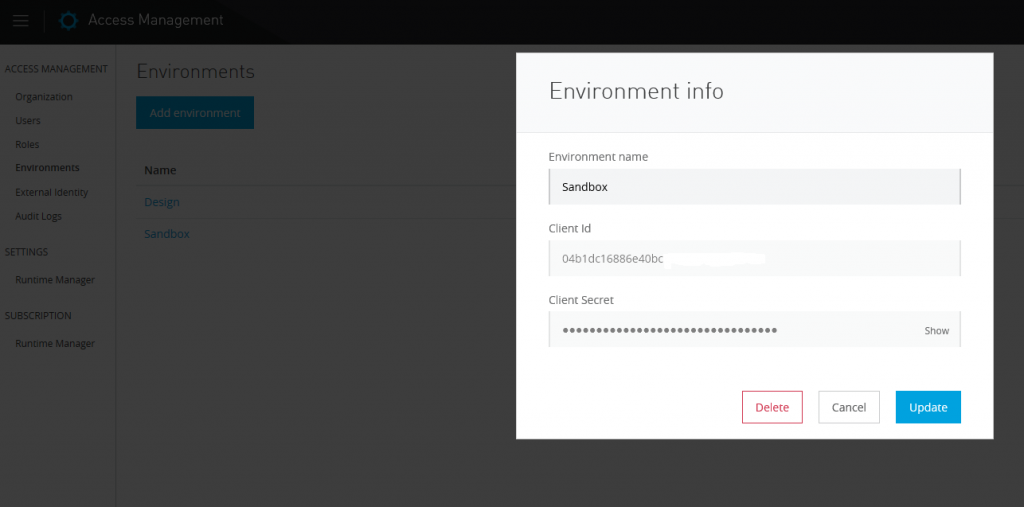
We also our going to need to grab the Client_Id and Client_Secret. We are going to specify these values in our POM file later on. Go to Access Management and select the business group and the environment you wish to deploy in. In our case it will be the sandbox environment.
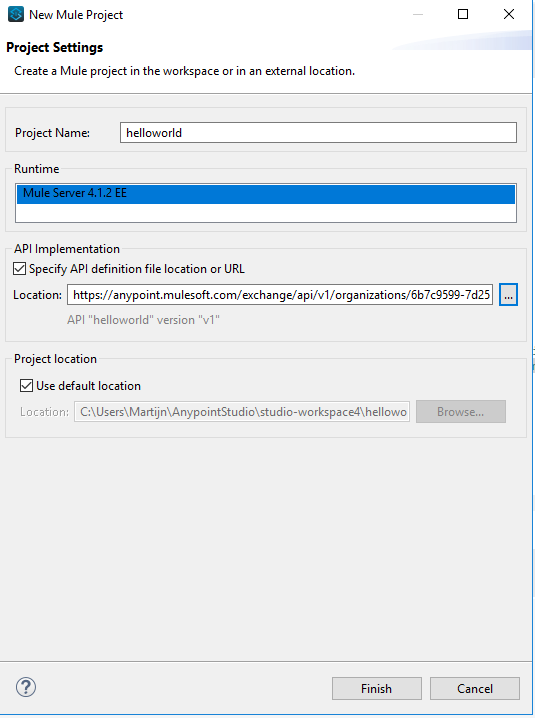
Now we can create a new Mule Project in AnyPoint Studio using the newly created application. Go to new mule project and select specify API definition from Exchange. Go to design center and select our application:
Now we have add the following settings to our POM file. Just replace the entire build section of your current POM file:
	<build>
            <plugins>
                  <plugin>
                    <groupId>org.mule.tools.maven</groupId>
                    <artifactId>mule-maven-plugin</artifactId>
                    <version>${mule.maven.plugin.version}</version>
                    <extensions>true</extensions>
                    <configuration>
                  	<cloudHubDeployment>
                          <muleVersion>${app.runtime}</muleVersion>
                          <username>${muleUsername}</username>
                          <password>${mulePassword}</password>
                          <applicationName>*******</applicationName>
                          <environment>${env}</environment>
                          <workerType>Micro</workerType>
                          <workers>1</workers>
                            <properties>
                               <anypoint.platform.client_id>**********</anypoint.platform.client_id>
                               <anypoint.platform.client_secret>*******</anypoint.platform.client_secret>
                             </properties>
                  	   </cloudHubDeployment>
            		</configuration>
                  </plugin>
            </plugins>
      </build>
Fill in your client_id and secret and make sure you specify a unique Application Name. Your running instance in Cloudhub must have a unique name.
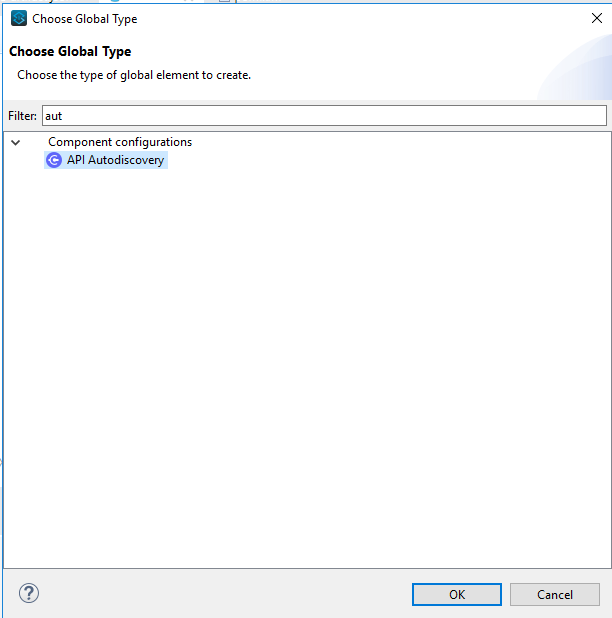
Now we must set the API Autodiscovery component in your Mule Application. Go to your main flow and select global elements. Here add the API Autodiscovery.
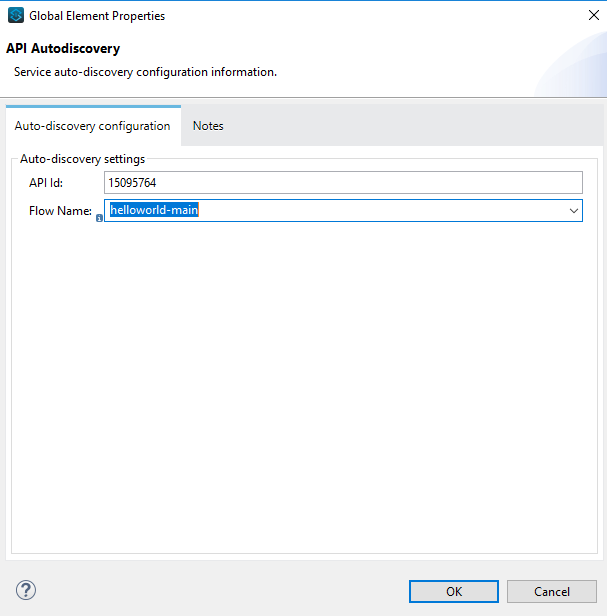
Fill in your API Id and select your main flow.
Now we can run our application with some Maven commands. Go to run-configuration in your AnyPoint Studio.

And add these values to the command section:
clean package deploy -DmuleDeploy -DmuleUsername=***** -DmulePassword=****** -Denv=Sandbox
Just hit run and the application is going to be deployed to cloudhub.
As you can see in the Runtime Manager. You can go to the application you just deployed and under settings here are the key/value pairs defined you entered in the POM file.

And of course our application is now under management in the API Management portal:

That’s all. So basically al you can set under the properties section of your running instance you can also define in using your Maven POM. These settings will then be automatically applied when the application is deployed.

2 Replies to “MuleSoft Maven plugin settings”